That Aussie summer: the scorching-hot sun, the traditional BBQ and the festive season; there’s plenty to get excited about as the heat starts to ramp itself up.
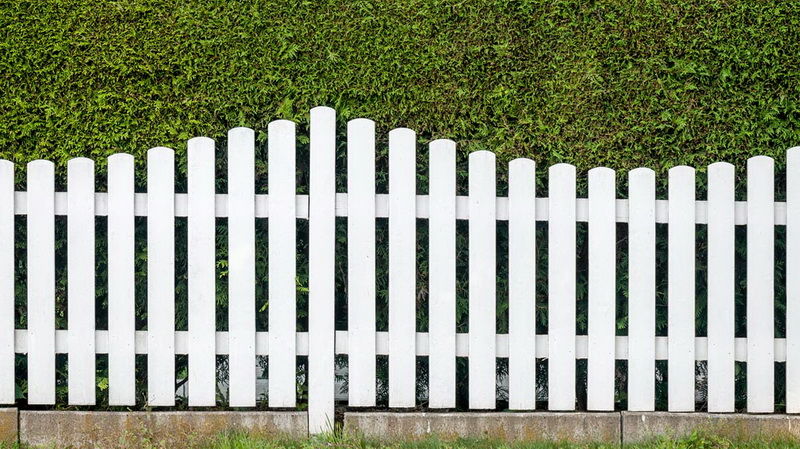
But often, as temperatures begin to increase, we forget about its impact on our properties and surroundings. For example, a white picket fence is a staple to many Aussie homes, but maintaining their idyllic look isn’t always an easy feat. This is especially true when the harsh sunlight begins to become a daily motif.
Luckily, there are ways you can keep your fence looking pristine, with one particular method being to give it a fresh lick of paint to restore it to its former glory. However, painting your picket fence on a hot day may actually cause more harm than good, if you don't approach it carefully. So, check out our top tips for tackling the process without inflicting damage to your fencing.
Clean the area
Before you even pick up the brush, it’s important to make sure both your fence and the area around it is clean. And we mean really clean. Additionally, it’s just as important to get rid of any plants and weeds that may attract unwanted humidity. Eliminating these pesky bits and pieces mean you can avoid any damage that may occur from the humid environment around your fence.
Strip it all back
To make sure the paint goes on smoothly, strip your fence right back to get rid of any old paint chips. If you’re not sure how to do this efficiently (but still keeping quality in mind), it’s usually a safe option to buy or hire a power washer.
However, if you choose to go down this part, keep in mind that some power washers can be quite aggressive and can cause the wood to erode. Ensure you opt for a model that allows you to strip back the base, while also washing away any dirt and grime safely. Usually, the best approach is to choose one that sits at 1,500 or 2,000 psi.
To get started, begin spraying the fence from 18 inches away and keep the width of the water stream aligned across each plank. As you go along, you’ll notice the colour brightening as it’s stripped away. Keep an eye on how you’re going carefully, and stop spraying when no more colour changes are happening.
Prime the fence thoroughly
Priming an area is one of the most critical steps in painting, no matter what you’re taking the brush to. As picket fences are wooden, a primer creates a protective layer between the wood and the paint to keep the material safe and in pristine condition. The primer also protects the wood from the harsh weather so that it won’t erode as quickly.
Getting down to action
Once your fence is cleaned and primed, it’s time to start painting. Most people choose to paint their fence with a brush; however, if you’ve chosen a hot day to paint, you can save time by spray painting instead.
Spray guns need the formula to be slightly diluted to ensure a clean finish, so make sure you check out what consistency your paint needs to be before you get started. Additionally, ensure you put a sheet over any areas you don’t want paint spots to appear on.
Once you’re set up, start spraying at a slight angle, allowing you to cover the edges efficiently. After you’ve completed the first coat, clean up any thicker sections or drips with a paintbrush, let the paint dry and then apply your second coat. Hotter days require more drying time, so keep this in mind along the way.